Documentation
Generators
Eleventy How to setup search on Eleventy
How to setup CloudSh Search on a new Eleventy site.
- Create the site
- Add a search page
- Setup CloudSh
- Integrate CloudSh
You can find the example site on GitHub.
Create the site
Setup a basic 11ty site, if you don't have one yet.
Create a directory for the site 11ty. Then from that directory init npm
and install @11ty/eleventy.
Next we're going to setup a couple of folders, one for site config and one for includes and layouts.
Finally, create the base.html layout and the index.html pages.
mkdir 11ty
cd 11ty

npm init

npm i -D @11ty/eleventy

mkdir _data
mkdir _includes

echo '<!doctype html><html><head><title>Page title</title></head><body>{{ content }}</body></html>' > _includes/base.html

echo "---\nlayout: base\n---\n\n<h1>11ty</h1>" > index.html

eleventy --serve
Run eleventy --serve to see the site. You can keep 11ty running from this point.
Add Search
Add a search page search.html. You can setup a more styled form,
just note the ids and namess.
---
layout: base
---

<h1>Search</h1>

<form id="cloudsh">
  <input type="text" id="q"/>
  <button>Search</button>
</form>

<div id="results"></div>
And a link on the index.html page to the search page. You could also
add a form that does a GET request to /search/.
<a href="/search/">Search</a>

<form id="cloudsh" action="/search/" method="GET">
  <input type="text" id="q" name="q"/>
  <button type="submit">Search</button>
</form>
If you use a form make sure to set the input name to q.
Setup CloudSh
Create and account on CloudSh or login.
Create an Index for your site and then create a new Token.


Integrate CloudSh
Add a site.js config file to hold the CloudSh Token you just created. Put
the file in _data.
/* _data/site.js */
module.exports = {
  cloudsh_token: 'XXXXXXXXXXXX'
}
On the search page, add the CloudSh JavaScript before the </body> tag.
<script src="https://app.cloudsh.com/js/cloudsh.js"></script>
<script>
  var CshConf = {
    token: "{{ site.cloudsh_token }}",
    formId: "#cloudsh",
    resultsId: "#results",
  };
</script>
If you used different ids or names update them here.
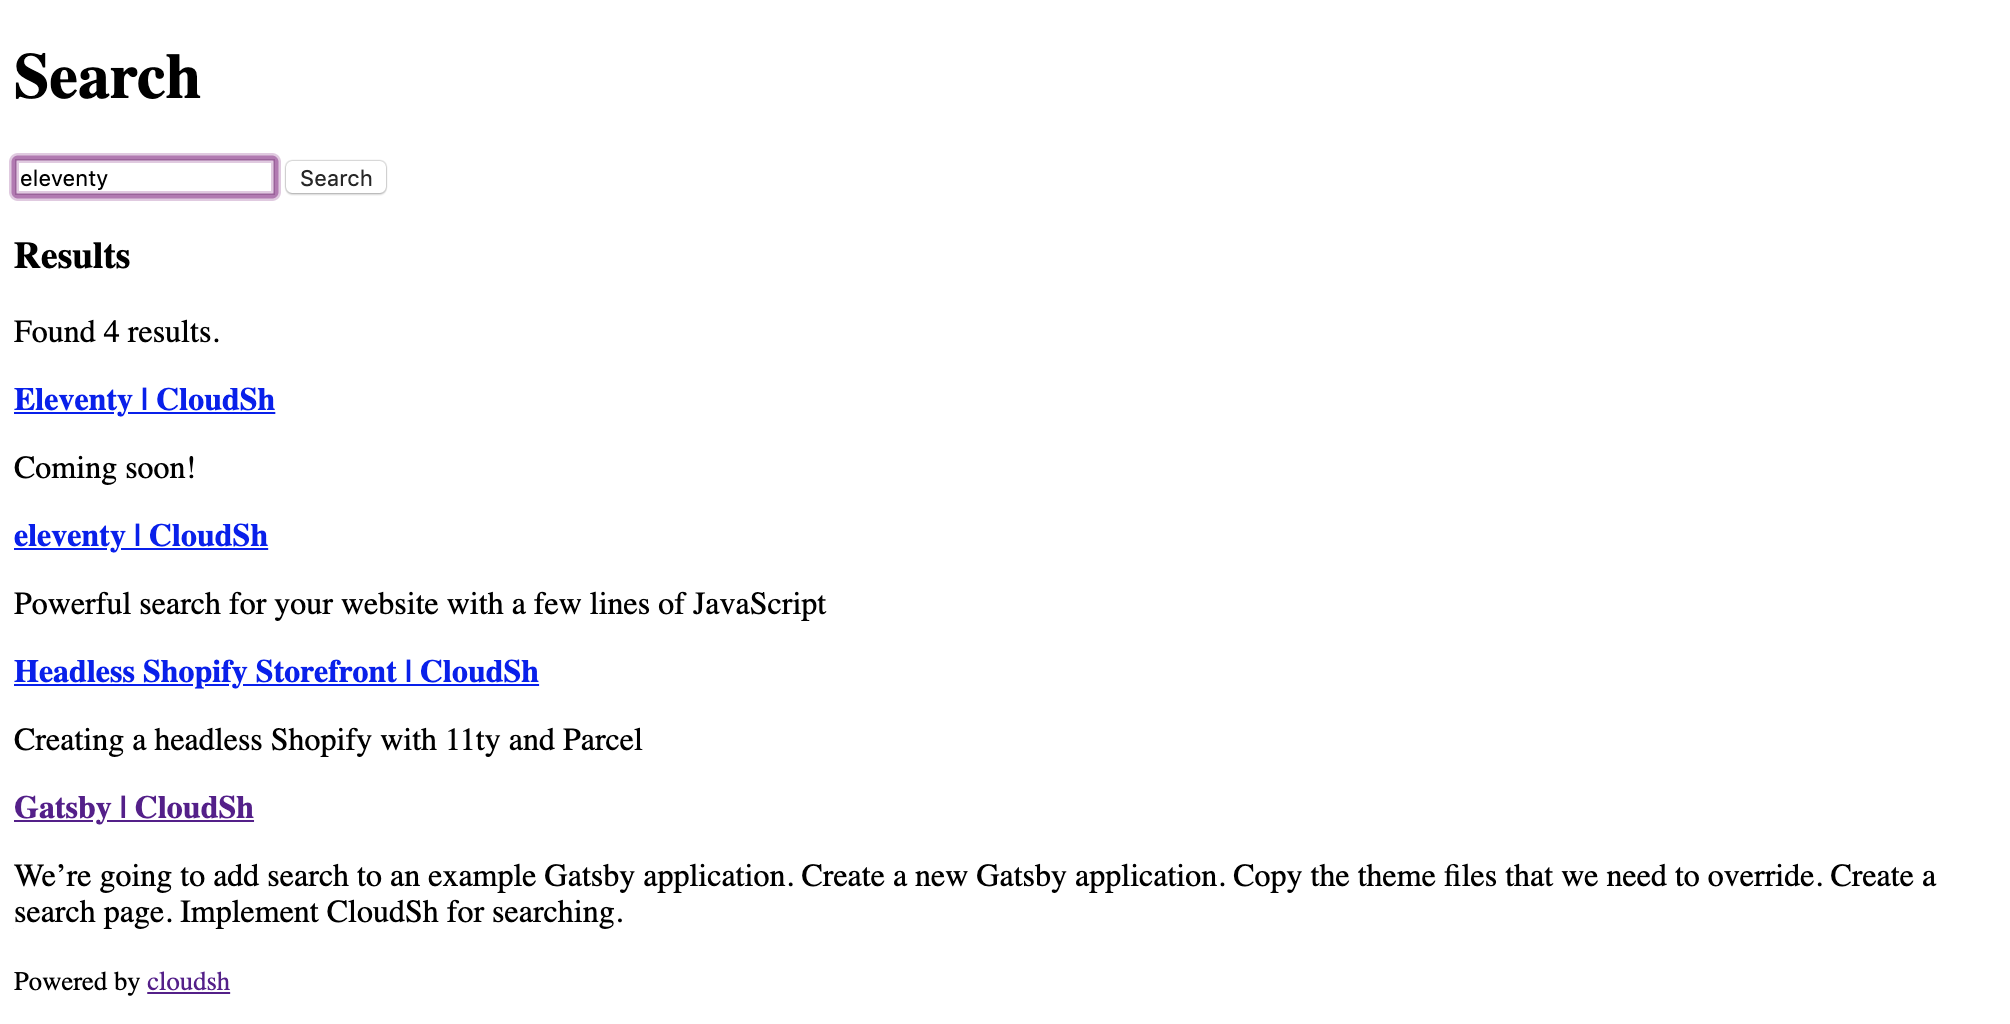
Test everything out!

Done! Happy Searching!